WiFi Weather Station

I have a weather station problem. Well, a series of problems, really. I think I’ve had 3 of them over the past several years, but they all suffer from one or more problems.

  • They don’t tell me Dew Point
    Relative humidity is inferior and I’ll fight anyone who says otherwise.

  • They lose connectivity to their sensors
    I don’t need hyper-local data. I just want to know the temperature in my neighborhood, not literally in my yard. There’s no reason to deal with this.

  • They eat batteries
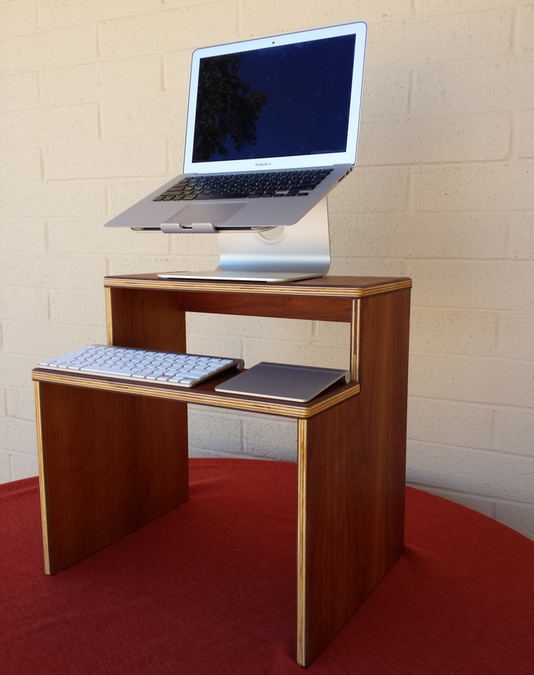
    The outdoor temperature sensor in particular seems like it’s always crying for a new battery.

  • They’re ugly
    Who wants THIS on their wall??

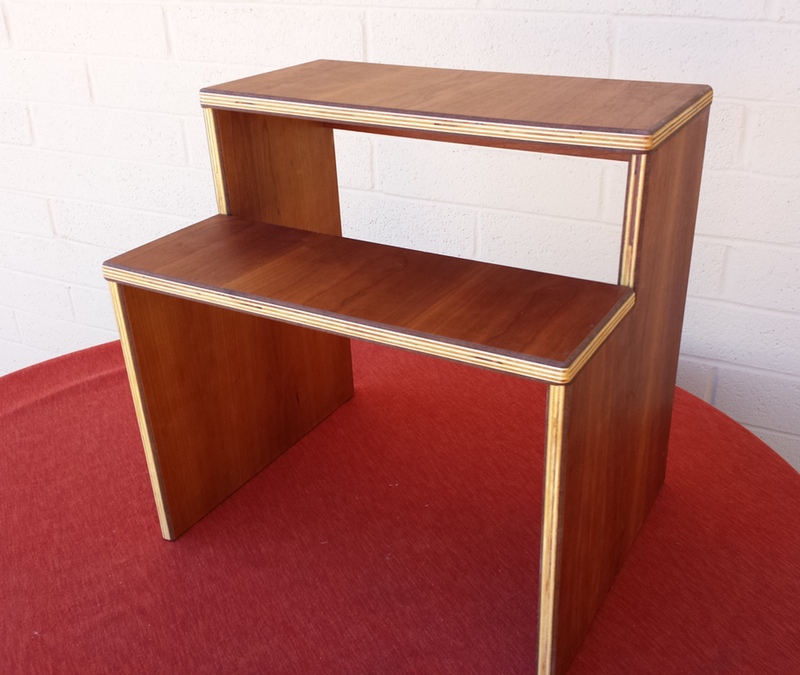
If I build my own, I can fix this. My aesthetic is mid-century modern IoT. I think it’s funny to make an internet-connected weather station and then put it in a retro-looking container with analog gauges.

The Architecture

Processor

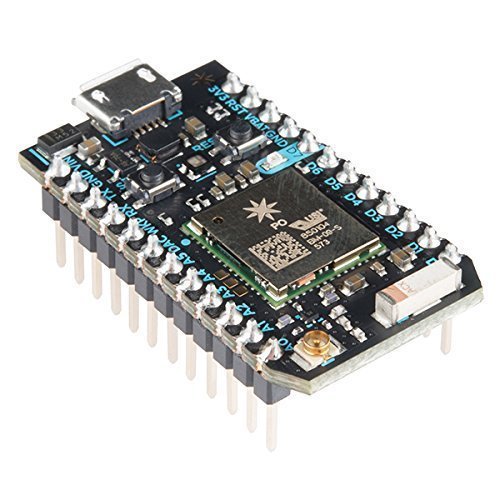
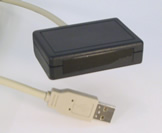
I have a Particle Photon that’s not assigned to anything at the moment. It’s cheap, wi-fi enabled, powered directly by USB, and you can flash new software to it over the web. It’s actually really powerful and at $19, it’s not even the most expensive thing in the build.

Gauges

For the all-important dew point, I’m using a Juken X27.168 Stepper Motor. It has internal stops at each end of a 315° rotation, so it’s easy to find its zero position at start-up.

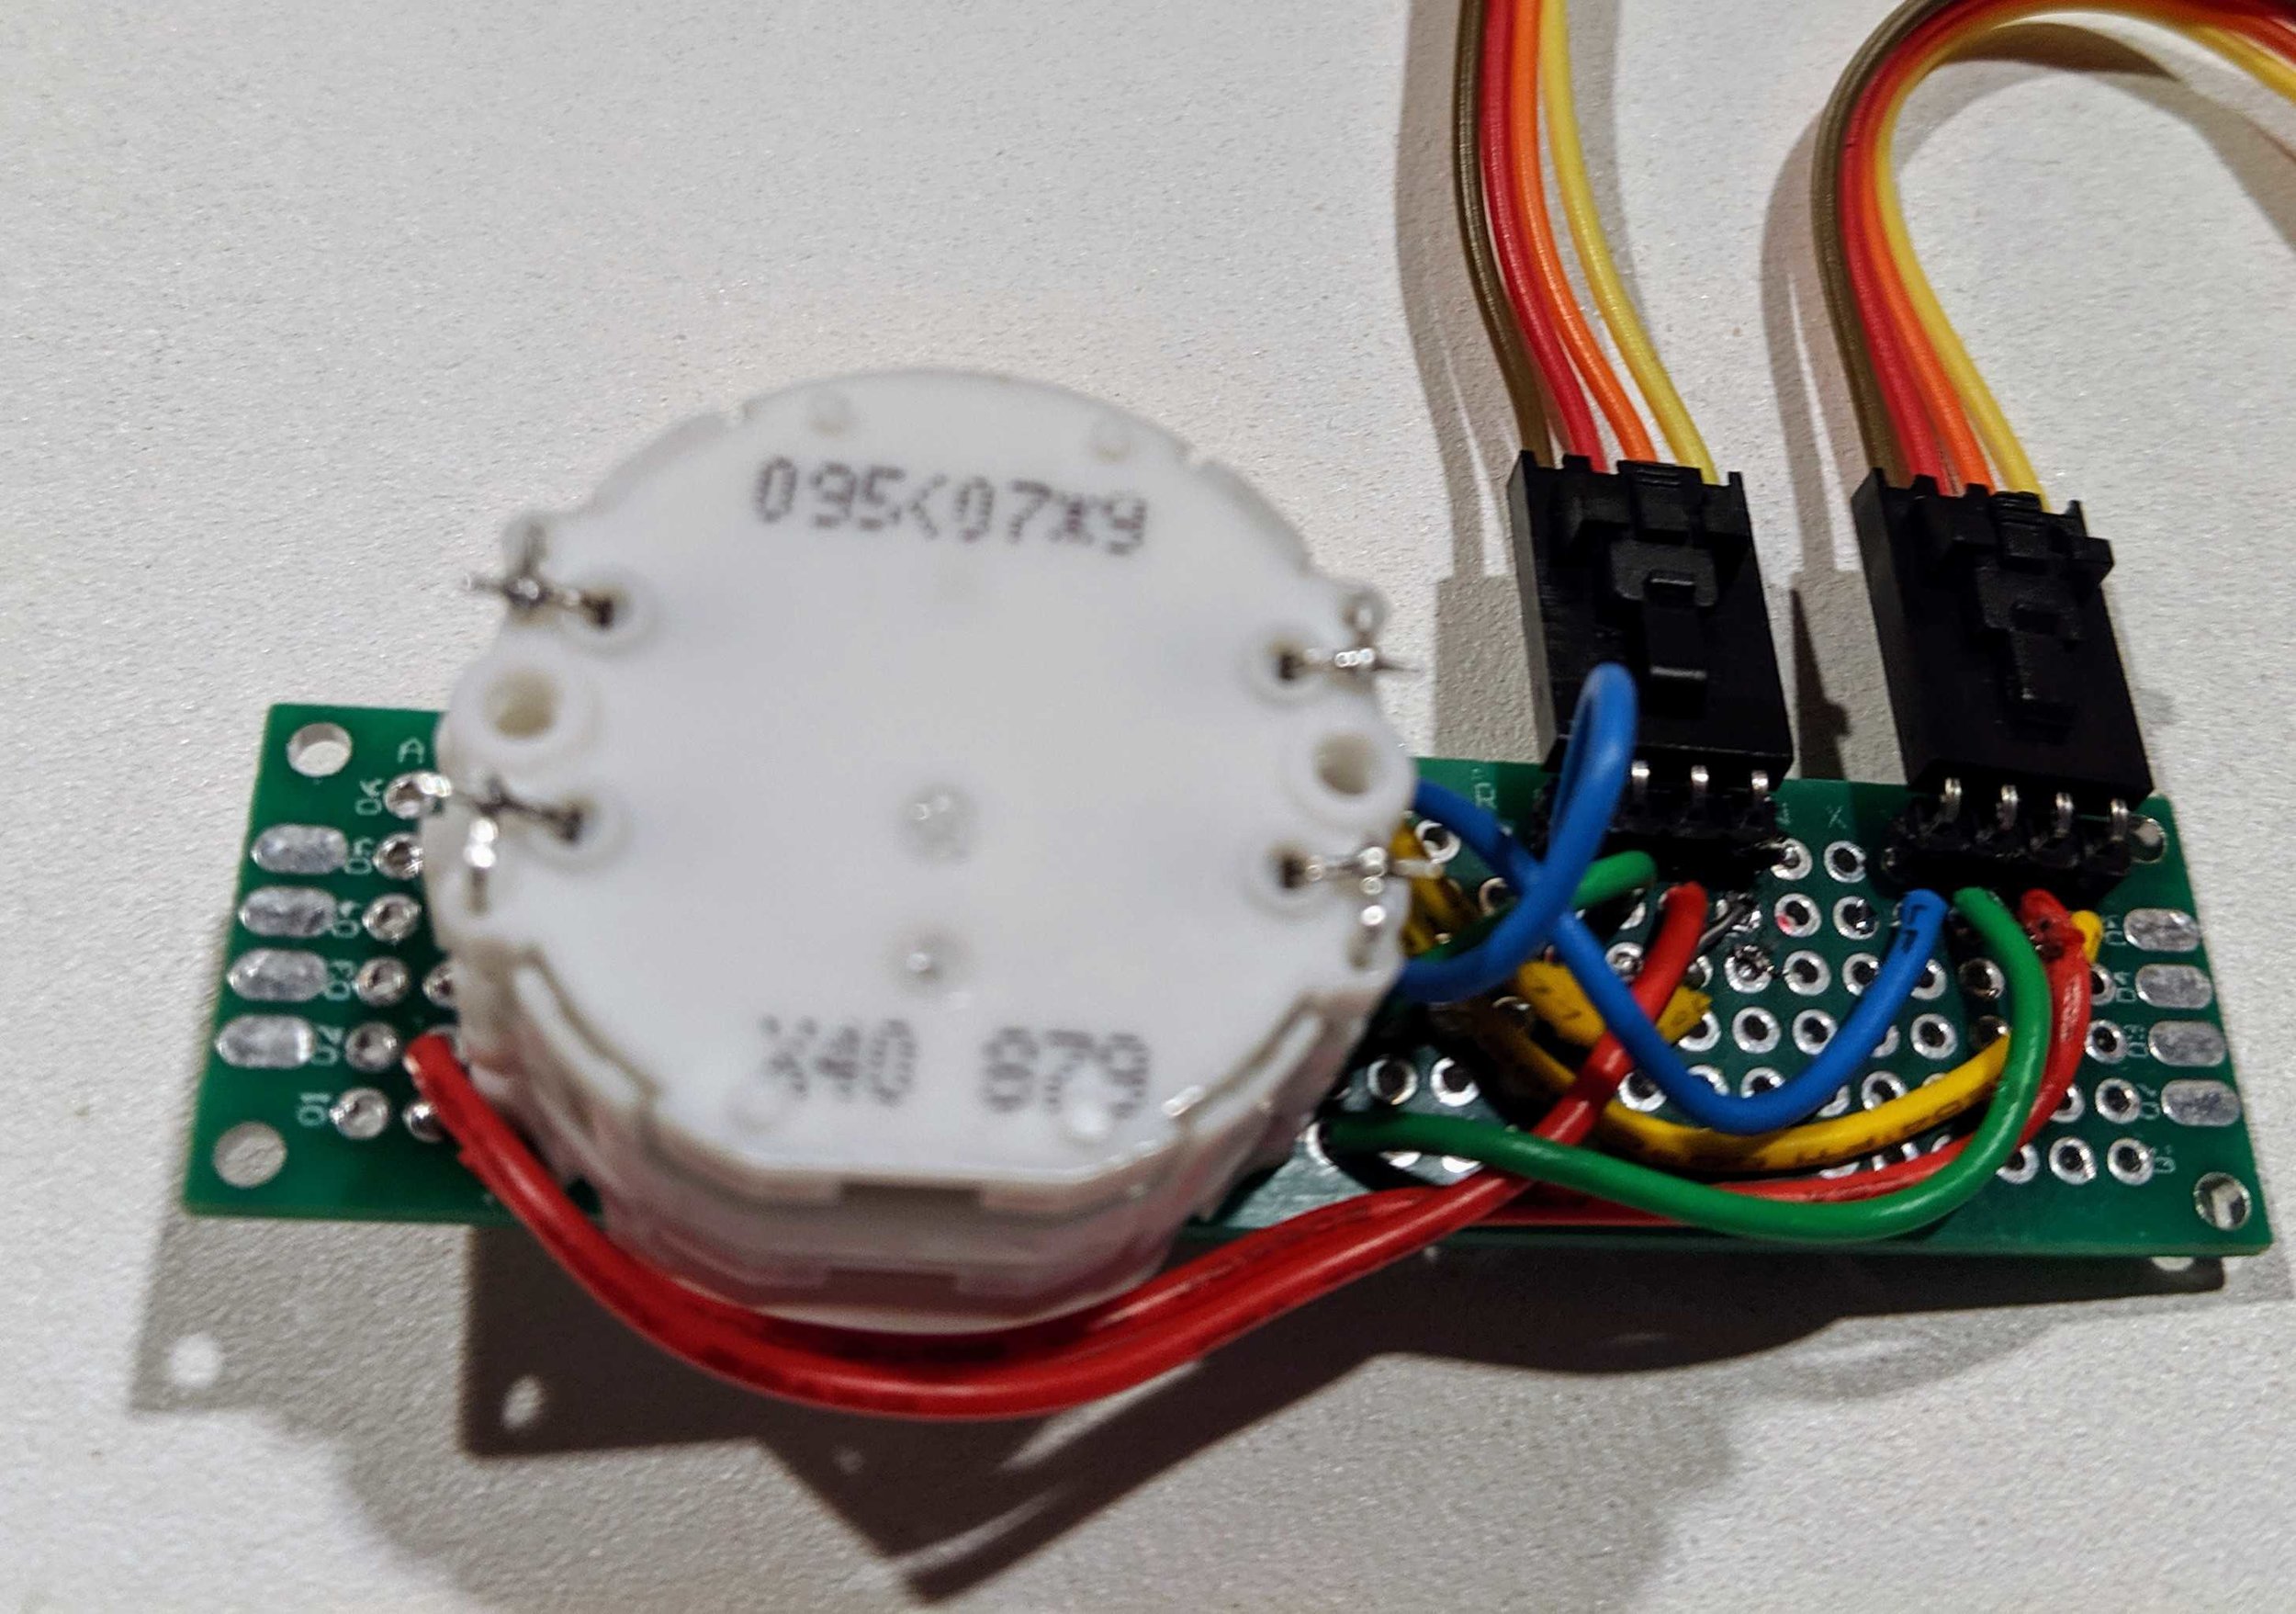
I want to display temperature and daily high temperature on one scale. To do that, I need a Juken X40 879B dual-spindle stepper motor.

They’re very low torque, but they can be driven at USB voltages, so it keeps the power situation simple.
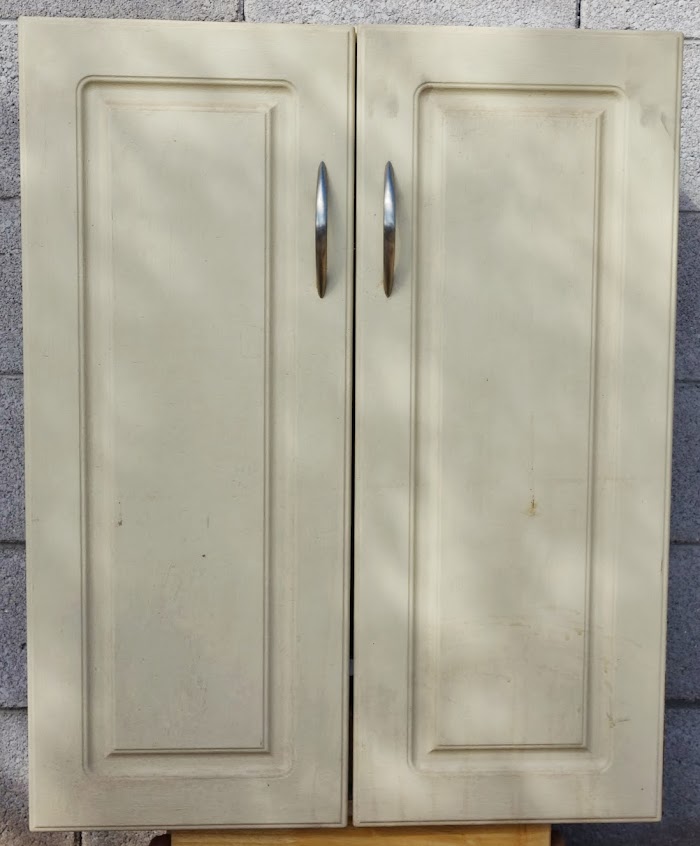
Cabinet

I need a nice looking container to put the whole thing in. I like the look of this clock. It’s more than 8 inches across, so there should be plenty of room for everything inside.

I’m replacing the face, but I’ll reuse a couple of the hands.


Building It

Software

The Photon has plenty of memory for an HTTP Client, a JSON parser, and a library to drive stepper motors. Everything can be globally scoped and reused as long as the thing is powered on.

The first free weather API I found is OpenWeatherMap. It doesn’t have dew point explicitly, but as everyone knows:

 
(T,RH)
Tdp = ⎼⎼⎼⎼⎼⎼⎼⎼⎼⎼⎼⎼
       b - γ(T,RH)
  where
         ln(RH/100) + bT
γ(T,RH) = ⎼⎼⎼⎼⎼⎼⎼⎼⎼⎼⎼⎼⎼⎼⎼⎼⎼
             C + T   
  and
b = 17.67, C = 243.5, 
T = temp (°C),
RH = relative humidity
 

So computing dew point and stepper motor positions is just a little algebra. I passed Algebra last century, and I still remember a lot of it.

The firmware is at https://github.com/powerfulmojo/WeatherMojo.

Particle variables and functions are documented here.

Electronics

The X27.168 and the X40.879B are driven by L293D dual H-bridges. They’re about 80¢ each when you buy 10. They have built-in flyback diodes to protect the Photon from any inductive-load-related nastiness that comes back from the motors.

Here’s what the design looks like:

schematic

It’s a lot of wires, but it’s not very complicated. Each H-bridge has 4 power pins, 4 ground pins, 4 processor connections, and 4 motor connections. I was able to squeeze everything onto a 24x18 perfboard.

Since the X40 has front contacts, I soldered that to its own board and used right-angle headers to connect jumper wires to it.

x40Board.jpg

I had to fiddle with pin assignments to get the motors spinning in the right direction, but that’s all software. I did it after everything was soldered in place.

The Gauges

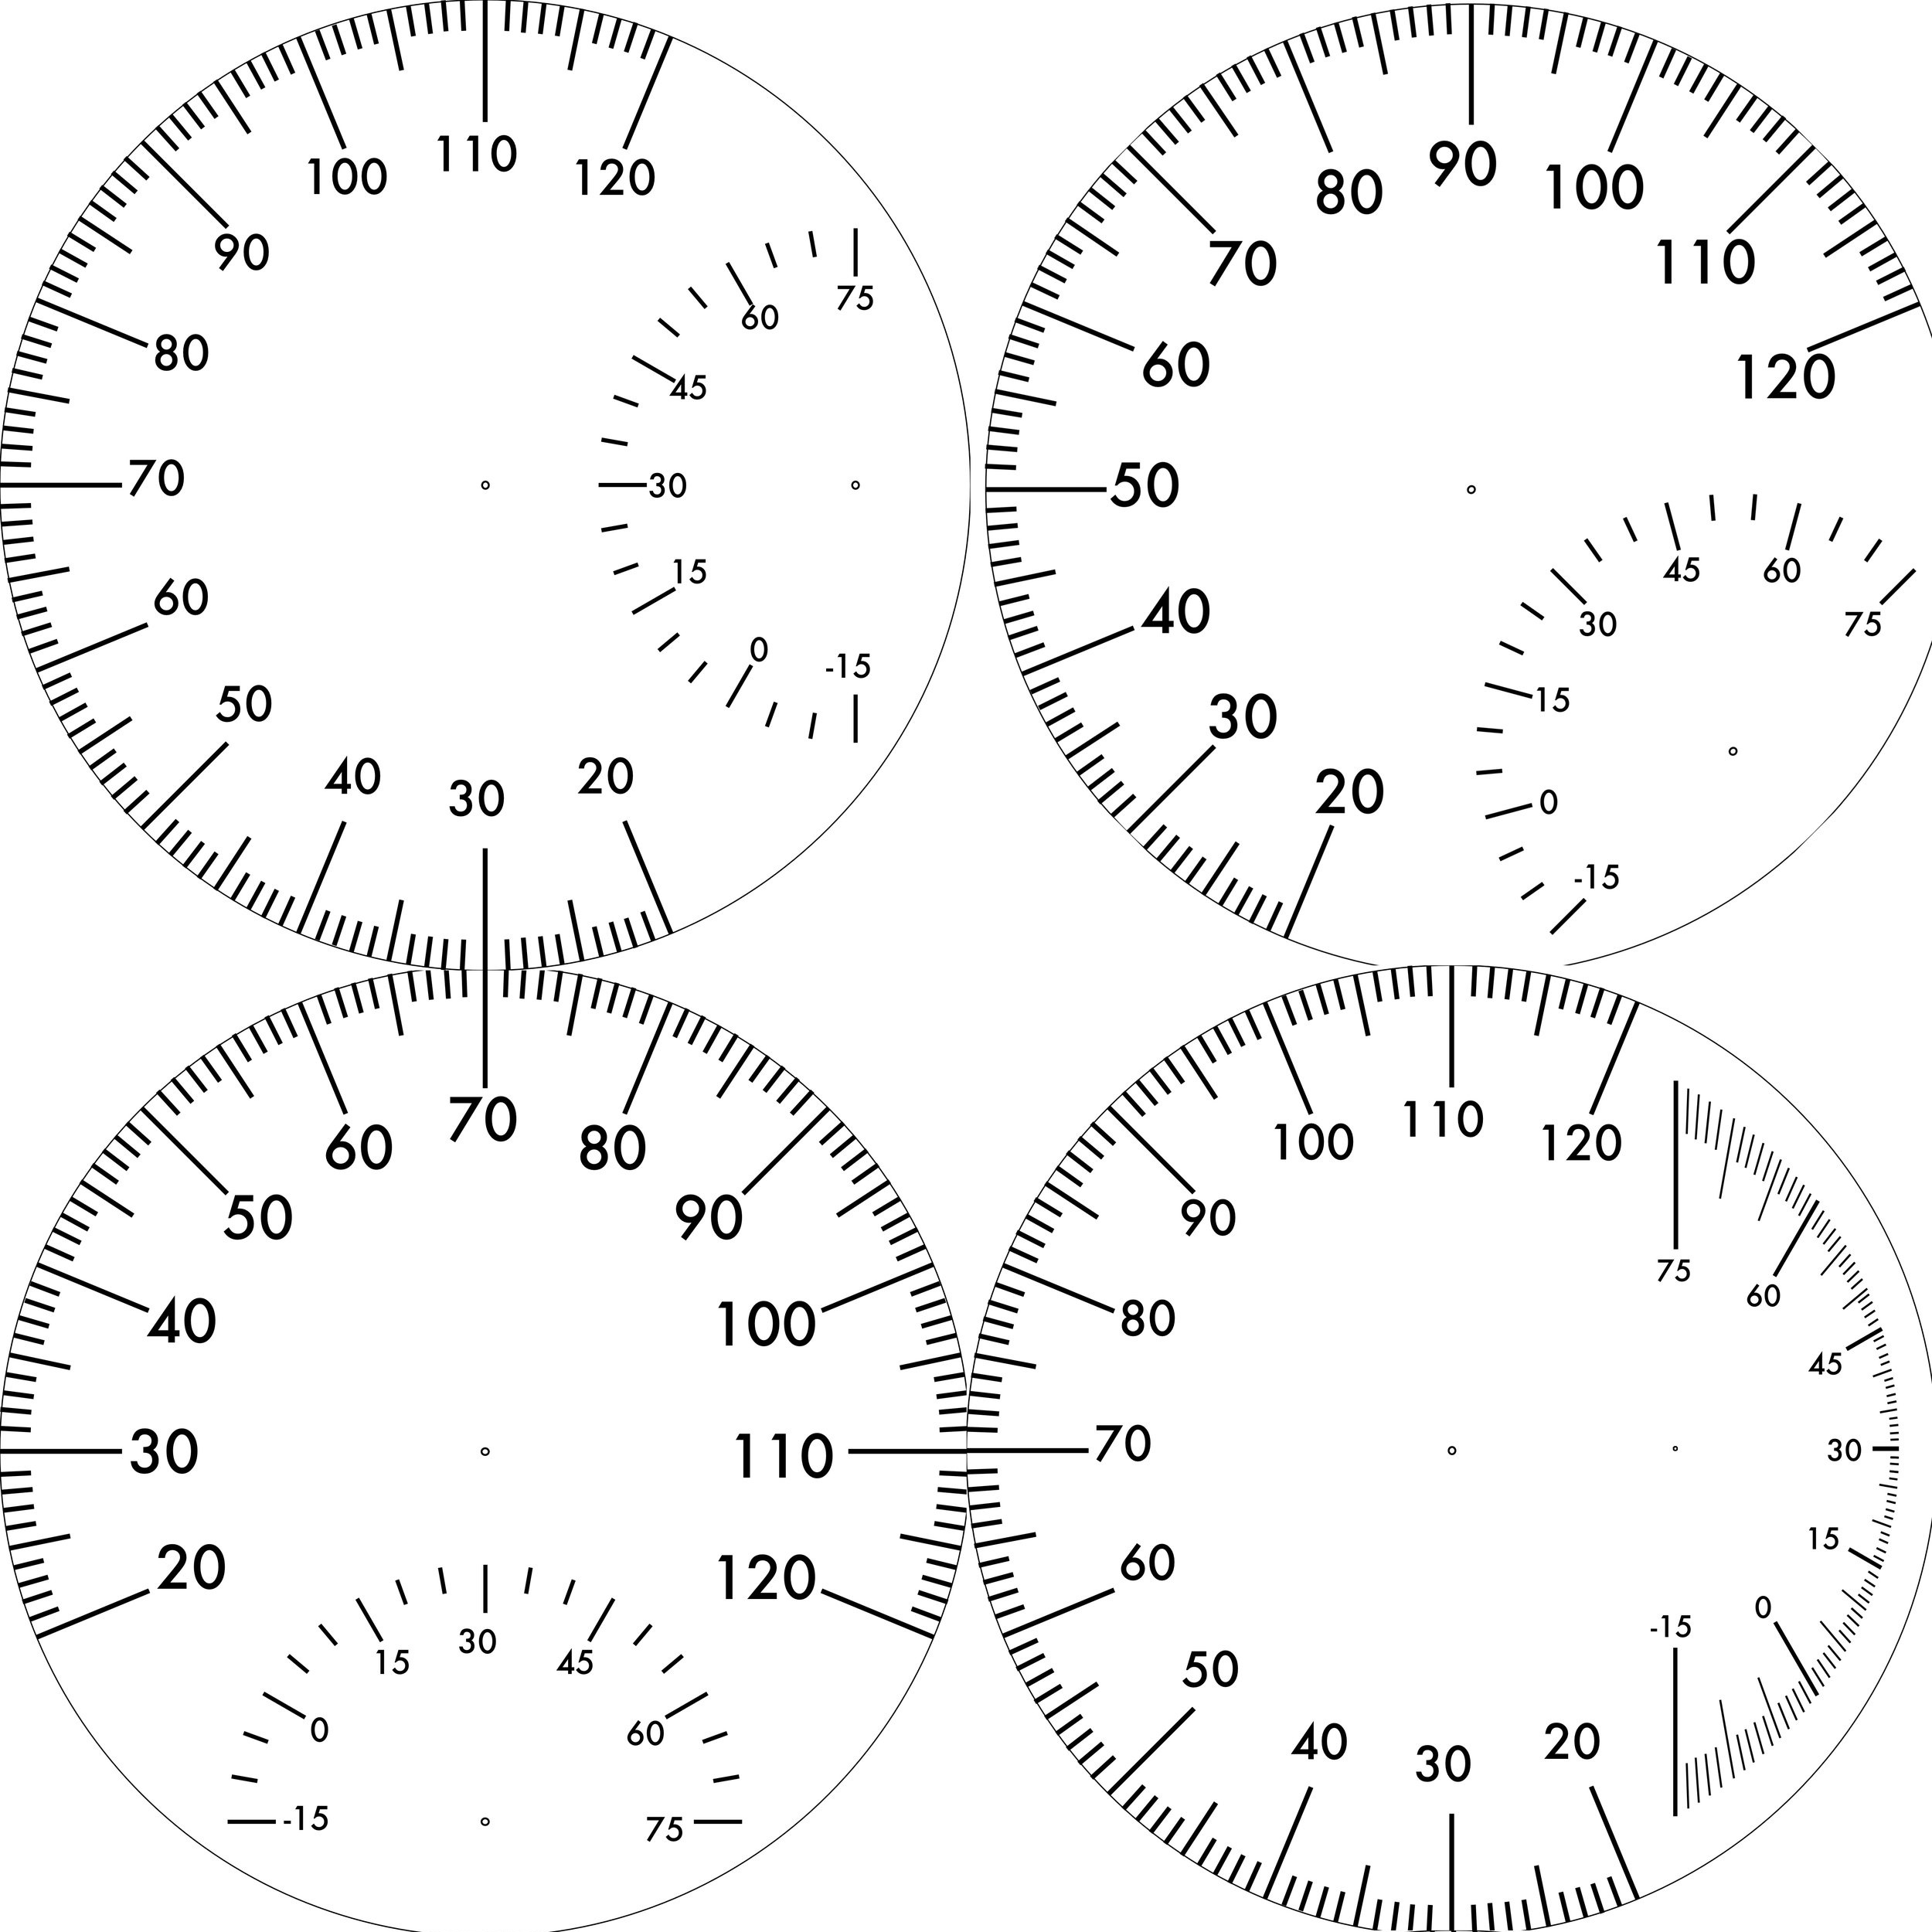
The face is a stainless steel disc I got from an eBay seller. I drew up some concept gauge layouts to see what I liked.

GaugeProofs.jpg

I printed the gauges on some water decal paper on my laser printer & applied it to the steel in one piece.

The hardest part of the project was actually attaching the gauge hands. The contacts on the temperature motors are on the front, so all of the connections have to be made between the motor body and the back side of the face. The spindles only stick out a few millimeters in the first place, so I spent a whole day driving back and forth to the hardware store trying out parts I might use to mount the hands to the motor.

If you try this, save the clock mechanism. It already has parts that fit the clock hands. That way you only have to adapt them to fit the motors.

The Finished Product

I love it! I probably ended up spending as much as I would on a decent weather station, but this one shows me data I actually care about.

Front

In Situ

Back

The big hand shows current temperature while the skinny one shows the highest temperature seen today. Most of the time they’re overlapping but as the temperature cools down, it shows you how hot it got today. It resets every morning at 9:00am so you still have a little time to see yesterday’s high at breakfast.

Tak: A Beautiful Afternoon Project

Maybe you saw a Kickstarter for Tak: A Beautiful Game. It's a game that makes an appearance in Patrick Rothfuss's Kingkiller Chronicles. I love (love!) The Name of the Wind and The Wise Man's Fear and I thought The Slow Regard of Silent Things was a delight. I will gladly consume anything set in that universe, so I may be a bit biased, but Tak is a good game.

The game will be produced by Cheapass Games, who already made two of our kids' favorites, Pairs and Lord of the Fries

Aside: I'd especially recommend Pairs for playing a quick game while you're trying to keep the kids busy at a restaurant. You only need a tiny amount of table space, and you can sweep it up in a hurry.

The Kickstarter will deliver in November, but I couldn't wait that long, so I built a set. I used some alder boards left over from a dice tower I made. They're 1½ inches wide and ¼ inch thick. I used my Fine Kerf Saw to cut 40 identical squares out of the alder and sanded everything lightly with 320-grit paper.

At first I tried gluing up some shaped pieces to be my capstones, but they looked too much like standing stones, so I bought some decorative dowel caps, and they're great.

Half of the pieces are completely unfinished. I put the other half in a baggie with some Special Walnut Stain and let them soak for 15 min.

I stitched up a denim bag and added a lace leather drawstring to hold the pieces.

I don't have a great board yet. I just drew one with a sharpie and colored pencils on butcher paper. The squares-and-diamonds design is pretty much the same as on Cheapass's site. Maybe I'll make a better board next.

It took me about 2 hours to make and stain the pieces. Then it took another couple to hand-sew the bag. The board took maybe 30 minutes. Not bad for a few hours' work.

If I were going to build another set, I'd get some thicker alder. These tip over a little too easily. They're still acceptable, I'm just picky.

We've played quite a bit, and it's a really fun game. The pieces are easy to see and move. Danger already announced that he's going to build his own Tak set out of Lego.

Our Family Game Builder

My 8 year old son, Danger, thought it would be fun to make a board game. He wants to be a game designer and he loves watching TableTop. A print-and-play Stratego seemed like a fun project.

The Map

Danger was in charge of this. He got some poster board (green, because that's what color a field is) and drew a grid on it. After that, he added the lakes. It came out awesome.  It's in 4 pieces so they stack instead of folding up.


I'm the Map!


The Pieces

Nice mustache!

I was prepared to just do my best drawing the images, but while I was looking for inspiration, I found an awesome collection of Statego SVG files that look exactly like the 1980s version I played.

I printed enough of everything on white card stock with a nice star on the front side. Danger cut everything out, folded it, and glued it up. I used a spreadsheet and a lot of "Print Preview" to get everything lined up for printing.

Let me know if you want the spreadsheet.

A Box

I had a nice box left over from Boccalone (where I got my "Tasty Salted Pig Parts" shirt). It works perfectly. The map fits nicely without rolling and the box has a couple of partitions inside that can hold the pieces.

Playing

It came out great. Danger even taught his (5-year-old) little sister to play. She mostly just stumbles into bombs until she finds the flag, but the extra-aggressive strategy combined with her uncanny luck is quite effective. I may post about her prowess at poker later.


He always looks like that when he's winning


Check Out Mrs. Mojo!

Mrs. Mojo built a thing! It's a pin cushion on a fabric band. When she ties it around the sewing machine, she has a pin cushion at the ready. It's nice work.

cushiom.jpg

"My sewing machine and pin cushion keep getting separated" meets every definition of a problem that barely needs solving, and she solved it with aplomb. I don't know how I got so lucky, but I'm glad I did.

Apple Keyboard Power Cable

Power a keyboard with USB instead of batteries

I have an Apple Wireless Keyboard that I love, but it runs on batteries. This little project is how I put a USB wire on it to make it work without batteries. It's still a Bluetooth keyboard, it just runs off of USB power.

The Parts

To complete this, you'll need:

I got all of it for about $16 (not including the keyboard).

Assembly

1. Drill the metal bits

You'll have to drill holes in the battery cover and the "negative" end of one dummy battery. This was by far the trickiest part.

Make the holes just big enough for your USB cable to pass through with the insulation. I was not confident in my ability to nail this on the first try and I didn't want this to be a permanent conversion, so I bought another battery cover. If you're really committed, you could drill the one that came with the keyboard.

2. Run the wires

Here's what I'm calling the wires involved:

  • New red: A wire you supply that will connect the Vout pin of the AMS1117 to the positive contact inside the dummy battery.

  • New black: A wire you supply that hooks together the ground of the USB cable, AMS1117, and negative contact inside the dummy battery.

  • USB red: The red wire that's already inside the USB cable. It will supply +5V to the AMS1117

  • USB black: The black wire that's already inside the USB cable. It is the ground for all components.

You'll need to drill holes in one end of each battery so a wire can run between them. Run the new red wire all the way through one of the dummy batteries.

Cut the end off of your USB cable and find all of the wires.

Push the USB wire through the drilled battery cover and negative battery terminal. If you buy the same dummy batteries I did, the ends pop out. That's useful for soldering wires to the metal bits without ruining the plastic bits. You have to solder:

  • The new red wire to:

    • the positive end of a dummy battery and

    • pin 2 of the AMS1117

  • The new black wire to:

    • the negative end of the other dummy battery and

    • the usb black and pin 1 of the AMS1117

    • The usb red to AMS1117 pin 3

Here's the pinout from the chip's data sheet:

When you're finished, it will look kind of like this:

3. Test it

Hook the USB cable up to a power source and make sure you get 3.3V between the positive and negative terminals of your dummy batteries.

4. Glue it

When I was done with soldering, I put a glob of hot glue on the usb wire and pulled it down into the dummy battery so it doesn't move. Then I assembled the batteries and glued the gap between them to keep them stuck together.

The battery cover is not glued to anything. It can spin on the cable. To hook it up, just take the batteries out of your keyboard and put this thing in instead.

Standing Desk Converter

I've been thinking a lot about health lately, thanks to Clairvoyant's health challenge. And I've been reading about the health benefits of a standing desk (or maybe not). You can buy standing desk converters like these:

But they start at $75 & they don't look great, so I decided to build one. I prototyped it with stacks of books and came up with a 12" rise for my keyboard and a 20" rise for my laptop on its mStand. The mStand isn't required, but I use it when I'm sitting so it might as well stay. 18" wide is enough to hold a keyboard and trackpad comfortably.

I built it out of some 3/4" cherry ply I had leftover from the desk. I routed the edges so they're rounded and I put a brace at the top of the back to hold everything square.

If I were to build it again, I would change some things:

  • move the legs in about 3/4"
  • have shelves overhang the riser by about 3/4"
  • blend the roundover more carefully into the lower shelf
  • use a wider brace so it's more certainly square

But that stuff is minor. I'm pretty pleased with it.

Leather Headphone Wrap

I'm still happy I tried out 3-D printing by making a headphone wrap, but the device itself leaves a little to be desired. A perfect headphone wrap would be:


  1. Small   shirt pocket size at the biggest
  2. Easy to wrap    or I'll never use it
  3. Easy to unwrap    or I'll curse at it
  4. Secure    it needs to hold the headphones while preventing tangles

My 3-D printed model scores a 3/4. Unwrapping is a pain, so I started looking for alternatives. Instructables user amalkhan has this model, which I like a lot. I also saw a few others that were more like a headphone wallet.

So I'm going to make one out of some scrap leather I have that matches my satchel. It comes down to 6 steps:

1. Make the Pattern

I picked a size that seemed reasonable and cut it out of cardboard to make sure it seemed right. I traced the cardboard on the leather. I want it to be 2 layers like the bag.

2. Cut the Leather

 
Rough cut leather
 

This is where I realized that two layers really complicates things:

  • The inner layer has to be shorter
  • The stitches have to be radial; not all parallel through the leather
  • Once you glue it up, it will never really lay flat for you again.

Still, I want the extra weight of 2 layers.

3. Glue and Trim

Put glue on one end of the leather and keep it secure. It's best to wait until it's all set before you continue. I did not do that. Once it's secure, clamp it around a dowel or something and glue it the rest of the way.

After it's all glued up, trim off any over-hanging leather corners to even up the edges.

4. Stitch

 
All Stitched Up
 

Another reason I wanted two layers of leather is that I could put cool stitching around the outside of the thing. This is the part that takes the longest; it took me 42 stitches around the whole thing.

5. Add The Snap

To hold it together, I punched in a line 24 snap.

6. Finish the Edges

I started the edges by sanding with 400-grit sandpaper, then I put some glycerin saddle soap on a rag and rubbed it into the edges. It came out looking like this:


That's about it. So far it has stayed in my pocket one day without tangling.

A Slingshot Ammo Catch Box

A while ago, I got a slingshot and started trying to scare the doves away from my pool so they will poop somewhere else. It didn't scare the doves away, but it turns out shooting a slingshot is challenging and fun. It also scares the neighbors less than firearms or air guns.

The Problem: Lost Ammo

I can shoot the same airsoft BBs I shoot at the doves, but bigger ammo is much more satisfying (and results in less hand-slap from the bands). The bigger ammo isn't as cheap as the plastic BBs. At 80¢ each for .38 cal steel balls, it's sort of important that I get to shoot each one at least a few times before it gets lost.

The Catch Box


It's made from the cabinet that used to be my coffee shrine before I built a new one. I just stapled a towel to the ceiling inside it to arrest the shots. It already had a screw that used to hold a power strip in place, so I used that to hang an aluminum can from a wire.

Turns out an aluminum can isn't really a good target for a steel ball flying at a couple hundred feet per second. It gets sort of shredded after a couple of hits. Steel cans work better. They still look destroyed, but they actually hold up pretty well. This one has been hit at least a few dozen times.

It Works!


The box is performing well. It traps about 1/2 of the shots inside. Another 40% can be found on the ground right in front of the trap. The remaining 10% get away and I have to go track them down, but none of them have made it 33 feet back to where I'm standing to hit me in the eye.

Industrial Chic Lamp

I needed a lamp for my new desk, so I built one.

The One I'm Sort Of Copying

Industrial Chick Lamp

My lovely wife found this lamp that she liked the look of. At the time of this post, it was available from Shades of Light for $225.

Looking at it, you can see it's just made of steel pipe parts. It doesn't even look like any are custom cut & threaded. It looks like there may be a union in the middle of the longest pipe, possibly to make shipping and assembly easier, but it doesn't look like anything I couldn't do with a trip to the Orange Store or Blue Store.

I had a few hours to spend on a project on Labor Day, so I gave it a shot.

The Deal

I'm doing this because I feel like doing a project. If I can build a lamp my wife likes as much as the one on the web site, we'll keep it. If my silly project turns out looking cheap & crappy or if she just has her heart set on another one, I'll abandon mine in the alley and buy her whatever lamp she likes.

Finding Parts

I decided to use a pendant light that's designed to hang from its cord, because I don't actually know what kind of hardware converts from plumbing to lamp fixtures. If it hangs on its own wire, I can sort of cheat and just run the wire through the pipe.

I was hoping to have something that comes out looking like this one from Restoration Hardware, but made out of pipe like the first one.

I went to my local Orange Store and picked out  a vintage-looking pendant lamp. It's made for mounting to a box in the ceiling, so (as with all good projects), I'll have to start by cutting up a perfectly good product.

The rest was just parts.

Parts List

Building It

Take the perfectly good pendant lamp and pull the cord out from the ceiling mounting fixture. This will leave you with a lamp & wire, but no housing to hang it from anything.

To make the head assembly, thread the pipe fittings over the wire in this order:

  1. 90° elbow
  2. 8" nipple
  3. 45° elbow
  4. 8" nipple
  5. 45° elbow

Screw everything together, being careful not to twist the wires on the inside as you do so. Now is a good time to check the height. I wanted mine hanging 3-4" below the pipe. Adjust the lamp until you have just enough exposed wire to hang right.

Cut the receptacle end off of the extension cord (that's 2 perfectly good things we've ruined so far!) and fish it through the tee fitting. The wire should make a 90° turn inside the tee. Next, feed the wire through the 6' pipe. This was tricky for me because the stranded extension cord wire wasn't rigid enough to push through all 6 feet. I had to tie a screw to a string and send the string through first. After that, I could use the string to pull the wire back.

Tee Fitting

Don't attach the tee, the 6' pipe, or the head assembly yet.

Split the wires on both the lamp and the extension cord. Thread heat-shrink tubing over the wire. I always forget that part. Figure out which side is the common wire  and hook the wire going to the wider prong on the extension cord to the white wire on the lamp cord. Strip a lot of the wire (like 1") and twist them together. Solder it up. This is going to live forever inside a pipe where you'll never be able to inspect it again. It's important that you get a good mechanical and electrical connection between these wires. I put heat shrink over each wire and a bigger one around the whole connection. Shrink the heat shrink.

Test the lamp at this point. If it's not working, cut your work out of the middle of the wire and start over.

Attach the 6' pipe to the 45° elbow of the head assembly. Try not to twist the wire as you go.

Attach the tee to the other end of the 6' pipe. Again, try to keep the wire from twisting as you do this (it's a bit tricky and a few turns over 6' of wire will be fine, but don't let it get kinked).

Attach the flange to the base using wood screws. Insert the close nipple into the tee fitting and have someone hold the lamp so you can screw the base on.

You're done!

I was going to paint it a cool hammered bronze color, but the galvanized came out looking pretty good, so I'm just going to leave it.

The Cost

It took me 2 trips to the Orange Store (I built the lamp too short the 1st time; the 6 foot height is much better).

I spent about $150 on parts, including the pipes I didn't use and the paint that we decided not to apply.  The whole thing came together in about 3 hours.

The Verdict

We can keep it! It doesn't look as cool as the $600 Restoration Hardware lamp, but it looks pretty good and it lights up the desk just like a lamp should.

Chess!

My son has been in his school chess club since preschool. He loves playing it. I’m not very good at it (he’s 6 and can beat me sometimes), but there’s one thing I’ve always loved: big garden chess boards that you walk around on top of to move big chess pieces. So I decided to build one.

The Design

I decided to build the pieces out of flat stock because it’s easy to get, affordable, and I know how to work it. I decided on a hinged base so they would fold and lay flat.

Aside: I discovered http://amazonsupply.com/ during this project. It's awesome!

My son helped me design the pieces. He drew what he thought they should look like on Post-It notes and I sketched them on big butcher paper to make templates. The King is three feet tall. The Pawns are 2 feet tall and everything else is somewhere in between. It only takes 6 templates to make all 32 pieces, so that went pretty quick.

Then we traced the templates on to 1x8” pine. I bought 6’ pre-cut boards of select grade stuff and put 2 tall pieces or 3 pawns on a board.

Cutting

This part takes a while. You have to carefully cut 32 pieces out of 8” boards with a jigsaw or bandsaw. I bet if I had a bandsaw, I could cut out a stack of 2-4 pieces at a time. I don’t have a bandsaw. I bet if I transferred the templates to a piece of hardboard first, I could have cut them using a straight-cutting router bit with a guide bearing. I didn’t do that. I cut all 16 pawns the hard way.

Then I sanded everything and routed the edges so they’re rounded over. It makes the pieces feel nice in the hand.

Painting

My son picked the colors. He said the white side should match the rocks in our back yard and the black side should match the pool fence. He got his design skills from his mom. We put drop-cloths in the yard and put 1 coat of primer followed by 2 coats of paint on both sides of all 64 pieces (including bases). This was a good family part of the project: no power tools or loud noises, just a lot of painting.

That's a philips-head screw he's holding. I'm not actually drilling a hole in my son's hand.

Assembly

This was another good family part of the project. Each piece needed a hinge attaching the base to the figure. Then each base needed an angle bracket and each figure needed a threaded insert. When you stand the piece up, a thumb screw goes through the bracket and into the insert.

The Board

The base of each piece is 9¼” wide. I went with 12” pavers to be the black squares on my board. The white squares are just the same gravel as the rest of the yard. It didn’t look quite right until I added the border of bricks all the way around. It makes it look like the white squares along the edges are part of a chess board, not encroaching yard.

Playing

Dude. It’s strangely satisfying to walk around on top of a chess board, stepping between the pieces, looking at the game from different angles. Then you pick up a rook and walk it 6 feet. It’s really fun even if you’re not good at chess.


All together, this set took about 10 weekends of work (not totally full, just... a lot of work), but I'm glad I did it.

Cherry Tower Desk

Sometimes I make the joke that I build stuff because there’s stiff competition: my wife made two people. I’m just trying to keep up. We need a new desk. My wife really liked Ana White’s Parson Tower Deskand she bought me a Kreg Jig (she’s the best!). I liked the construction technique, but the dimensions were a little off for us. I also tweaked the materials.

I found great 30” cherry wood turning blanks at Woodworker's Source. They're 2” x 2” square and surfaced on all 4 sides. They are a little pricey (especially since I needed like 16 of them for this project), but I don't have a planer or jointer at home, so I needed something already surfaced for a nice clean fit. They also had a gorgeous sheet of ¾” cherry plywood to make the shelves.

I'm particularly proud of this little feature: I added a cable tray underneath the back edge of the desk and I got a Big power strip that stays in there. Everything is plugged in to the strip, so there’s just one power cord coming off the back corner of the desk. The back still looks like this:

 
nest of snakes
 

But the front looks like this:

 
Nice & pretty
 

My wife found a stainless desktop at Ikea. I think its name is SANFRID. Put it all together and add several coats of Maloof oil/poly blend, and you get a desk!

 
Finished Desk
 

I still don’t feel like this evens things up. My wife made two people. All I made was a desk.

Coffee Shrine

There are few things in life to which I am more devoted than coffee. For me, the proper way to show devotion is maniacal control over as much of the coffee production process as I can muster.  And that means a coffee roaster. And a coffee roaster has to live outdoors so the smoke doesn't kill your family or pets.

We had this really useful little (little!) counter outside our kitchen window. I put a half-screen on the window, so we can use it as a pass-through from the kitchen to the back yard. I want to make that into a huge counter over spacious cabinets.

I assembled and leveled the cabinets on adjustable feet to keep them off the ground. I added a power strip inside so I could leave everything plugged in. Then I put plywood and backer board over the whole thing, rented a tile saw and tiled it with 20” ceramic tile and a fetching bull-nose around the edge.

I think this shows an appropriate level of devotion.

Weekend Project: Book Rack

I've been reading Knock-off Wood a lot lately, and they had these plans for a book rack. They're great for my girl's room for three reasons:

  • The books face straight out (so you can see 'em)
  • It sits flat to the wall (12"), so I can put it behind her door.
  • It's sturdy enough that she could climb it (not that she should)

Here's the finished product:

I deviated from the original plans in a few places:

  • No arches. I didn't want to cut them so I tell myself they didn't match her room anyway.
  • Routed outside edges and rails dress it up a bit
  • Taller shelves (15" instead of 12")
  • Notches for her chair rail & baseboards

I'm particularly happy with how the baseboards came out, but I sort of messed one thing up: when I routed the outside edges, I didn't stop at the baseboards. The round-over goes all the way to the floor. Whoops.

This was a great project. It took me 2 days of carpentry (with the assistance of a 5-year-old), plus a day of painting.  I spent about $90 on materials & a few tools that made it go smoother. I'd recommend it of you have an unused wall in your place.

There, I Solved It

I was inspired by http://thereifixedit.com. I feel a kinship with the innovators whose work is featured there. After all, I just expanded my universal remote, and they built one from scratch. I decided to document my own attempts at problem solving. Hopefully the engineering is better than theirs, but I feel confident my problems had less reason to be solved in the first place.

The Problem

Sometimes I forget to close my garage door. I've left it open all day and all night. This is a perfect example of a problem that barely needed to be solved in the first place. Right in my wheelhouse.

Solving It

What I need is an unmissable indicator of my forgetfulness. I'm thinking of a light that comes on when the garage door is open.  Ideally, one that I can see while watching TV or laying in bed.

Design

The concept is simple: That's right, I use MS-Paint for circuit diagrams.There's an LED, a power source, a switch, and a couple resistors.

Parts

The switch is a magnetic reed switch. It's normally open, but if a magnet cozies up to it, it gets all closed. Perfect. I don't know the model number, because I just found it in my garage, left over from when they installed the security system. You could get one for about $3, and you could go wireless for $50.

The power source is a couple of AAA batteries. I happened to have a battery holder that size lying around, so that's what I went with. I think you could get a new one for $2.

The LED is a panel mount model I bought just for this. It is green, and snaps into a 1/4" hole.

According to my math, I need a minimum of 40 Ω of resistance to avoid burning up my LED @ 3V. All I had were a couple of 100 Ω resistors, so I went with that. In parallel, that gives me 50 Ω plus the resistance of the wire & switch, so I won't burn the LED up.

Then there's some miscellaneous wire, solder and heat-shrink tubing to keep everything neat. Oh, and a magnet. I happened to have one of those too.

Assembly

Most of the stuff sits inside the house. I picked out a nice location in a closet and drilled a hole for the LED. I soldered up the battery pack, resistors, LED, and the leads to the switch and fed them through into the garage.

At the other end, I just had to stick the switch in place and mount the magnet to the garage door. And by "mount," I mean "stick it to the garage door because it's a magnet."

Victory is Mine

After just a little tweaking to get the position of the magnet just right, I have a working light. It has already reminded me to close the garage door once, and I expect it will have a long life saving me from myself.

Lazy Part 4

Part 4: Talking to Yahoo! Music Engine

So the remote has been programmed to impersonate a CD player remote, and the computer can detect when it's sending commands. Now I just need to actually do something with the commands.

Good News

When I installed Girder, I found out that it's already got a Yahoo! Music Engine plugin configured. It can handle Play, Pause, Stop, Skip, etc., so my initial goal of skipping Nickelback songs looks to be within easy reach. As a bonus, Girder also has plugins for WinAmp, Windows Media Player, and just about any other software you could be using to control your playlist.

To actually make use of Girder, you will need to visit each event in the included Yahoo! Music Engine GML and make usre it's listening for its events from the remote you just set up. Just visit the event you want to define: and double-click it to set its properties. When you get there, set the Event Device to the remote you just created:

Budget

After my initial investigation, I expected to spend just under $150 and 20 hours to get this done. I spent $143.44, so for once I was under budget. If you already have a universal remote that you like, you really could do this with just the UIRT and Girder ($103.60 with shipping). As far as time, there were two parts of this that went surprisingly smooth: Girder's YME plugin saved me hours of capturing commands, and the IrToWav software made it super easy to program the remote with exactly the right codes for all of my devices. I actually spent only 9 hours on this, and since I already found the parts and vendors, you could get through this exercise in even less time.

Next Steps

At this point, I have achieved my initial goal of being able to control my playlist using the same infrared remote I use for the rest of my stereo equipment. Along the way, some other interesting questions and challenges presented themselves. If I'm feeling particularly ambitious in the future I might plan to pursue one of these:

Changing Stations I might decide after skipping ten tracks in a row that maybe I'm just listening to the wrong station. It would be cool if I could set up a list of favorite channels or playlists and change to them with the remote.

RF Remote Control This setup works great in my living room where I'm already holding an infrared remote control (unless Blake has stolen it). But I have speakers on my back porch too and the IR remote doesn't really cope well with the sliding glass door. I live in Phoenix, so infrared opacity is important, and I'm not willing to change glass. An RF remote would solve this problem and free me from the line-of-sight requirement.

Breakeven Analysis

I know how much time and money I spent on this. I'm willing to ignore the money for now. A vanity website baron such as myself has little time for such material concerns anyway. The real scarce resource is time. I had my faithful assistant clock me while I made round trips to the computer and back to my seat skipping crappy music tracks. 13 seconds per trip, average. Then he clocked me using the remote: 2 seconds. That's a net time savings of 11 seconds per crappy music track.

I don't have data concerning the ratio of music I'll tolerate to music I won't, so we will work from a model. If each song is 3½ minutes long and 3% of them are crappy enough to be skipped, my 11 second advantage breaks down to .001571429 seconds saved per second that I listen to music, or about 5.7 seconds per hour. To look at it another way, I'll be hearing about 17 songs per hour, with a little more than one crappy song every two hours, but the song will only waste 2 seconds of my life, not 13.

If I listen to music for an average 30 minutes a day, it will only take me 191 listening days to break even on my 9 hour investment. I drove the golden spike uniting Yahoo! Music Engine and my remote on March 20, 2006. That means that on September 27, 2006, I will have regained all of the time spent putting this together. This is considerably more favorable than if it had taken 20 hours as I predicted at the beginning. That would have put my breakeven point at May 18, 2007. Still acceptable.

Summary in 10 Words or Less

Not as hard as I expected and totally worth it.

Final Budget: $143.44, 9 hours

Lazy Part 3

Part 3: Talking to the Computer

For my next trick, I'll need an assistant: the USB-UIRT. This is that gadget that's going to receive infrared signals from the remote. I'll also need the Girder software to learn the codes my remote is sending and actually do something with them. For now, I'm just going to be satisfied with proving that my PC is hearing what the remote is saying. Making the software do anything about it is a matter for another day.

I'll only be needing a handful of buttons here. They're all standard play controls and appear on just about any remote.

  • Power (to open or bring focus to the application)
  • Play/Pause
  • Stop
  • Previous Track
  • Next Track
  • Shuffle
  • Repeat

Hardware Installation

Dude. That couldn't have gone much easier. Plug in the UIRT and the Plug and Play dialog finds it. You download the drivers from the USBUIRT site and tell the PnP wizard where to find them. Done.

Software Installation

This was also a cakewalk. Come to think of it, it was much easier than a cakewalk. I've participated in several of those and never walked away with a thing. Here there is no cake, but at least I have something to show for my effort.

Telling Girder About It

Go to File -> Settings, select "Plug-in settings," and check the box next to "USB-UIRT." Restart Girder and you're off & running.

Setting Up Your Remote

Go to Tools -> Add Remote Wizard. Click Next, name the remote, then start programming. It asks you to press any button to make sure it detects a remote at all, then it asks you to press each button that you want to use on the remote. After you finish this, Girder will be able to get signals from your remote.

All of this only took me an hour, and most of that was poking around trying to figure out what else Girder could be used for. I went ahead and picked buttons to use for song rating too. If everything goes smooth, I'll not only be able to skip sucky tracks, but ban them for good measure. Next, I'm going to make Girder listen for the signals from my remote.

Budget update: $143.44, 8 hours.

Lazy Part 2

Part 2: Programming the Remote

I got the remote control in the mail today. It's a beautiful, silver OneForAll 8910.

Just to get things warmed up, I found the code for my TV and entered it. I got that up and running right away. Early win. Nice.

Uncharted Territory

I tried out the IR.exe and Remote Master software. It turns out there's one more handy piece of software, IrToWav. I'll explain that in a minute.

In brief, Remote Master creates the key mapping for the remote (which button should send what signal), IR.exe converts that map to a binary file the remote can understand, and IrToWav generates a .wav file that can load the upgrade to the remote.

How slick is that? The remote has a modem in it for one-way uploads of information. If you call OneForAll technical support, they can have you hold your remote up to the phone and load new devices and protocols. If you use IrToWav, you can do the same thing, but with a custom program you created. You don't even need the JP-1 cable to write to this remote.

There's a great tutorial on all of this on the hifi-remote site, and another good one here. The hifi-remote forums are also a gold mine of great information. If you just take two hours to read the sticky posts in the beginner forums and search for your particular remote, you'll be a beginner no longer.

To control the music player on my PC, I just selected a common universal code for a CD player (for some reason, code 0157 is used for 16 different CD players in my remote's catalog, but not for mine). I figure choosing a common code means there's a low probability that its carrier signal will be out of range for my IR receiver or some other nonsense. I plan to use these play controls to manipulate the Music Engine on my screen. I must say that this step of the process went smoother than I could have imagined. The remote is already controlling my whole home entertainment system (except PC), and I had a super-easy graphical interface to remap all of the buttons.

I didn't need the $14 JP-1 Cable to do this, but since I already ordered it, I'm adding it to the budget. I'll use it later when I'm in a nerdy mood.

Budget update: $39.84, 7 hours